All Categories
Featured
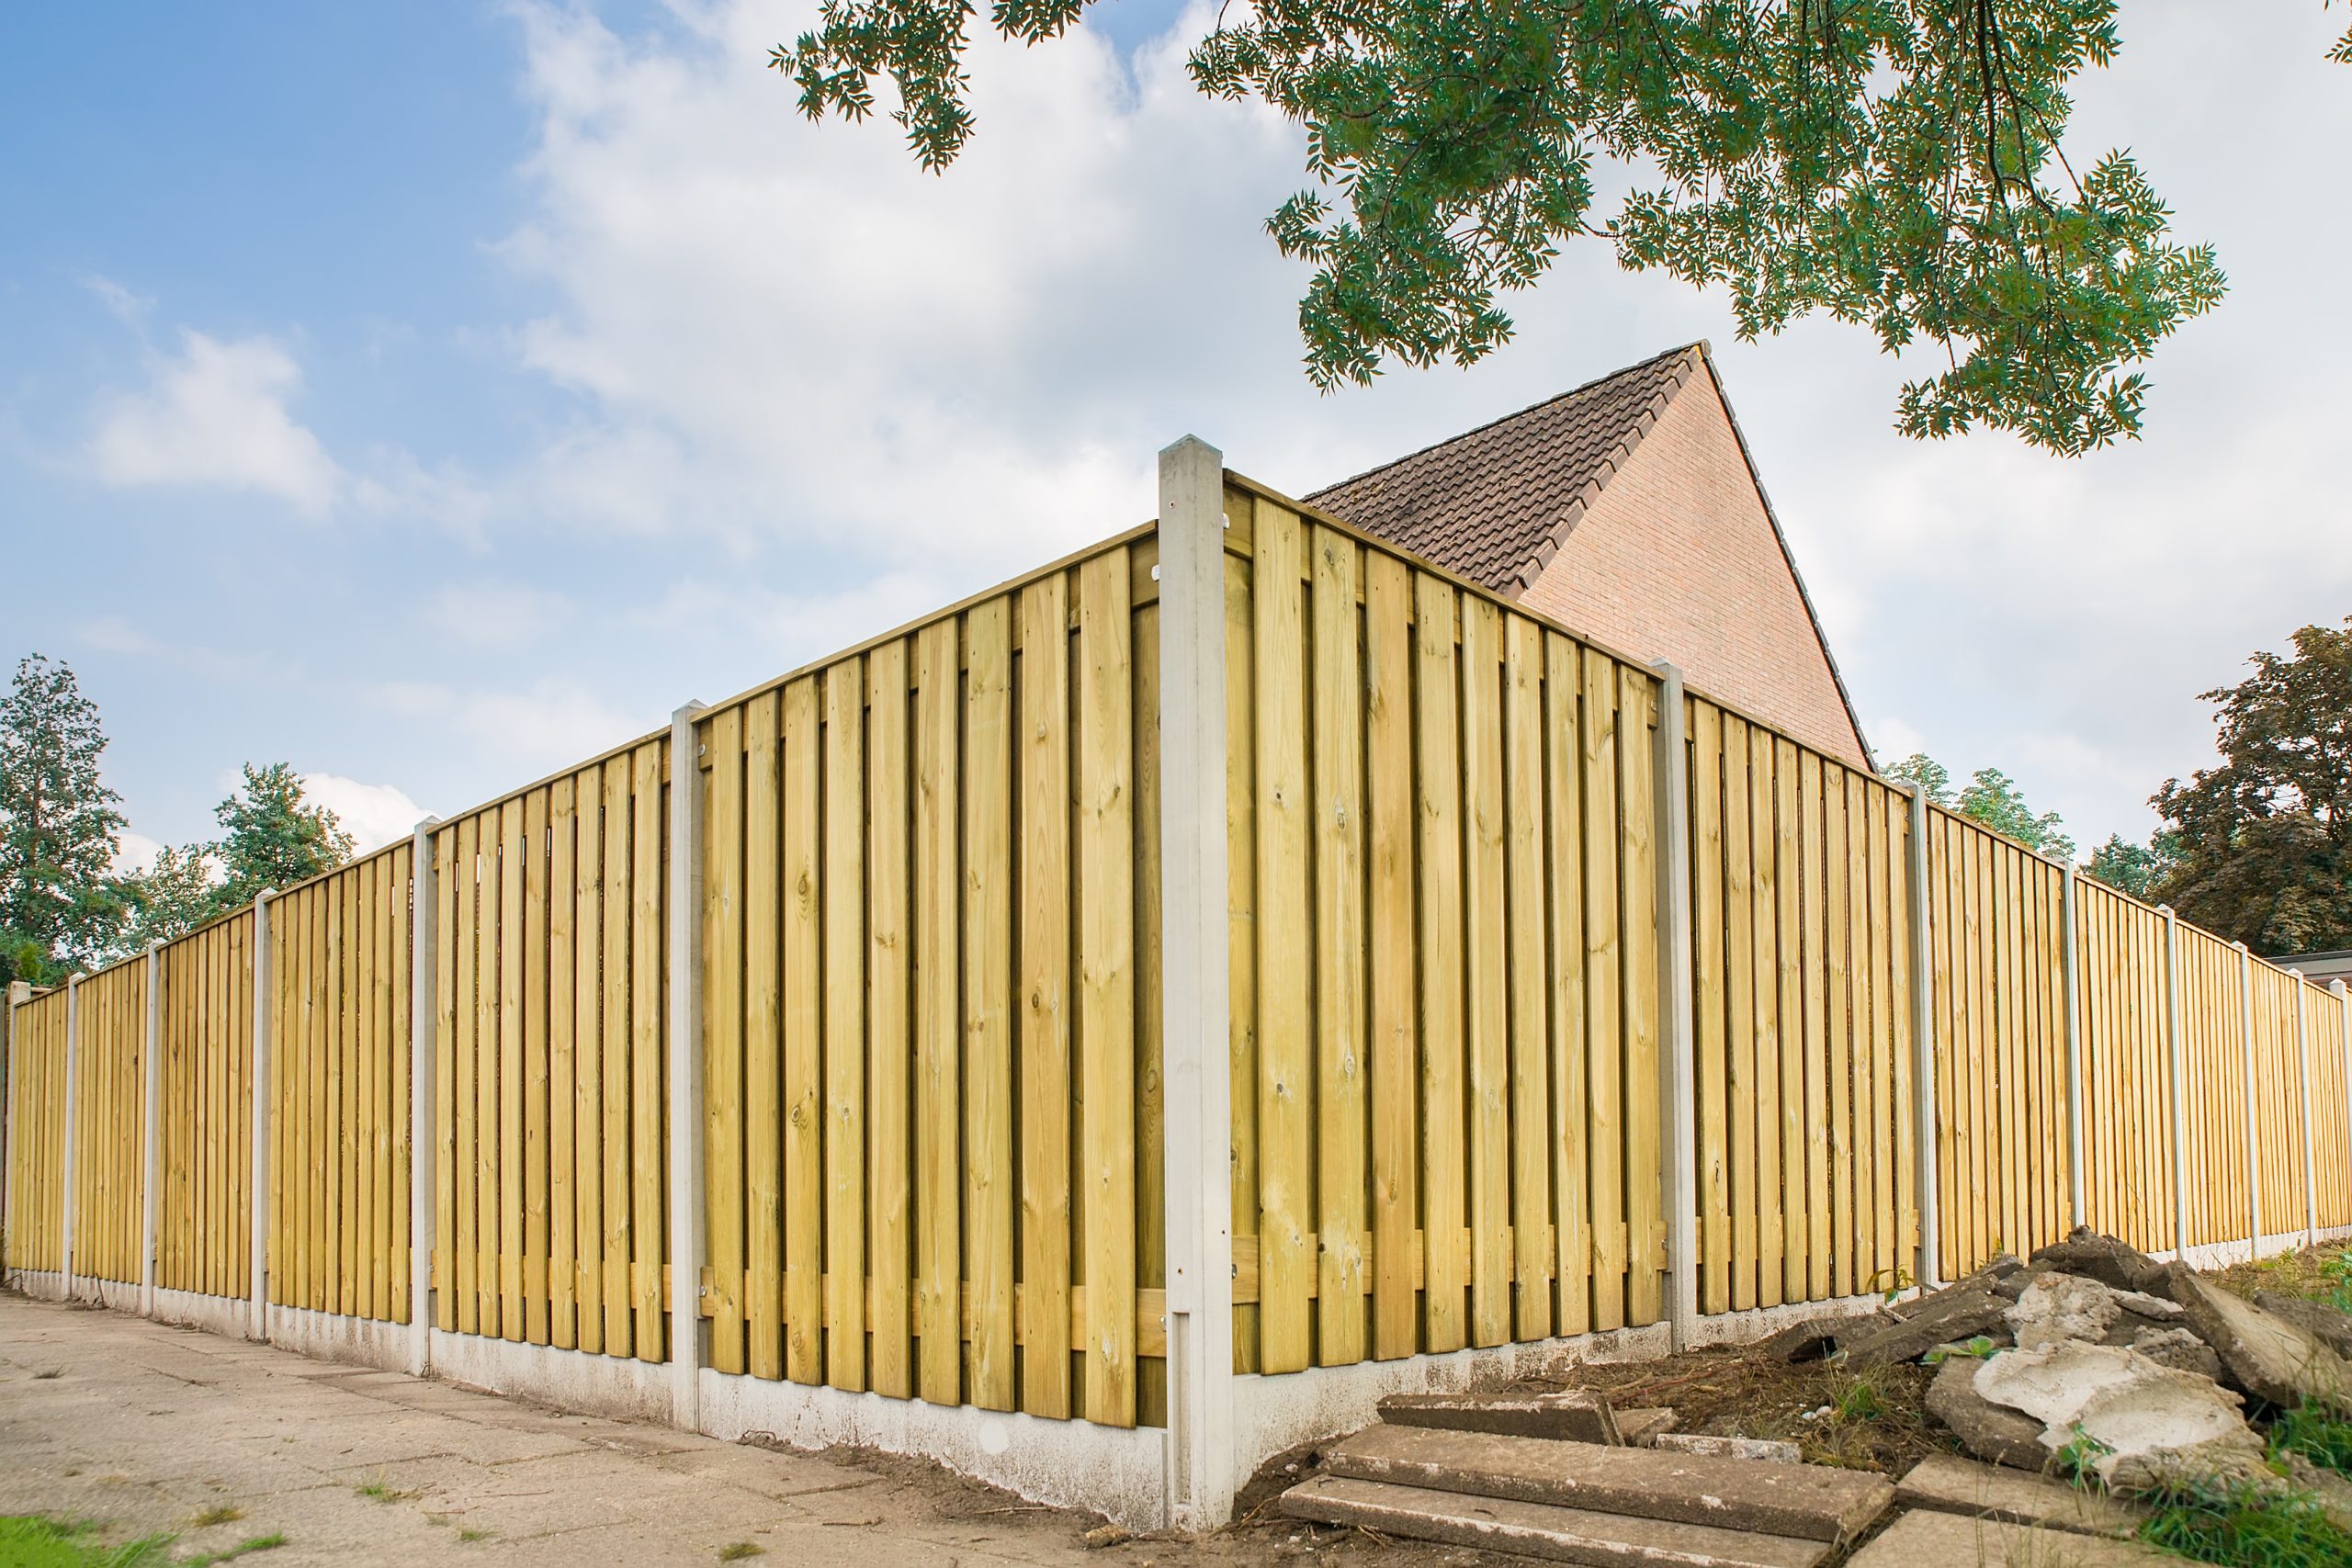
Fencing articles are the backbone of any kind of tough fence, offering necessary support and structure. In time, they might endure or lean damages due to weather, dirt conditions, or general wear and tear. Right here's a useful overview to aid you repair a leaning or harmed fencing blog post effectively.
Action 1: Determine the Issue
Prior to starting repairs, analyze the reason of the leaning or damages. Usual concerns consist of:
Rotting Timber: Wetness can cause wood messages to degeneration.
Shifting Dirt: Erosion or loosened soil might bring about instability.
Impact Damages: Blog posts can be weakened by crashes or serious weather condition.
Improper Installation: Shallow article openings or not enough anchoring can bring about leaning.
Recognizing the origin will certainly help you establish the best repair work method.
Action 2: Collect the Required Devices and Materials
Here's what you'll require:
Shovel or post opening miner
Level
Article braces or supports
If necessary),Substitute message (.
![]()
Gravel and/or concrete mix
Drill or hammer
Safety equipment (gloves, goggles)
Action 3: Repairing a Leaning Fence Post
If the blog post is leaning yet structurally sound, comply with these actions:
Reveal the Base. Dig around the article to expose the base, removing loose dirt or particles. This will certainly enable you to reposition it.
![]()
Straighten the Post. Draw the post or press upright, examining its placement with a level. Use momentary dental braces or risks to hold it in place.
Enhance the Structure
Crushed Rock Method: Include crushed rock around the base, tamping it down to provide stability.
Concrete Approach: Mix and put concrete right into the opening around the blog post. Make certain the blog post remains degree as the concrete collections.
Secure the Article. Let the concrete treatment for at least 24-48 hours prior to removing braces or risks.
Action 4: Changing a Damaged Fence Message
If the post is broken, rotten, or otherwise past repair work, replacing it is the most effective choice.
Remove the Old Blog Post. Remove the old message, consisting of any type of concrete footing. Utilize a pry bar or message puller for persistent articles.
Prepare the Opening. Clean and expand the opening as needed. For optimal assistance, the opening must be one-third the size of the article.
Install the New Article. Place the new message right into the hole. Use a level to ensure it's straight and temporarily brace it.
Fill Up and Secure. Include gravel for drain at the base, after that fill the hole with concrete or tightly loaded dirt. Permit the concrete to establish before affixing the fence panels.
Action 5: Prevent Future Issues.
To maintain your fencing and stay clear of comparable troubles:
Usage pressure-treated timber or metal blog posts for boosted resilience.
Make certain proper drainage around the base to stop water damage.
Conduct regular assessments to determine potential problems early.
Final Thought
Fixing a leaning or harmed fencing post doesn't need to be daunting. With the right devices, products, and strategy, you can restore your fencing to its complete functionality and appearance. Regular maintenance and proactive care will certainly help expand the life of your fence, guaranteeing it continues to be a dependable and attractive component of your home for several years to find.
Action 1: Determine the Issue
Prior to starting repairs, analyze the reason of the leaning or damages. Usual concerns consist of:
Rotting Timber: Wetness can cause wood messages to degeneration.
Shifting Dirt: Erosion or loosened soil might bring about instability.
Impact Damages: Blog posts can be weakened by crashes or serious weather condition.
Improper Installation: Shallow article openings or not enough anchoring can bring about leaning.
Recognizing the origin will certainly help you establish the best repair work method.
Action 2: Collect the Required Devices and Materials
Here's what you'll require:
Shovel or post opening miner
Level
Article braces or supports
If necessary),Substitute message (.
Gravel and/or concrete mix
Drill or hammer
Safety equipment (gloves, goggles)
Action 3: Repairing a Leaning Fence Post
If the blog post is leaning yet structurally sound, comply with these actions:
Reveal the Base. Dig around the article to expose the base, removing loose dirt or particles. This will certainly enable you to reposition it.

Straighten the Post. Draw the post or press upright, examining its placement with a level. Use momentary dental braces or risks to hold it in place.
Enhance the Structure
Crushed Rock Method: Include crushed rock around the base, tamping it down to provide stability.
Concrete Approach: Mix and put concrete right into the opening around the blog post. Make certain the blog post remains degree as the concrete collections.
Secure the Article. Let the concrete treatment for at least 24-48 hours prior to removing braces or risks.
Action 4: Changing a Damaged Fence Message
If the post is broken, rotten, or otherwise past repair work, replacing it is the most effective choice.
Remove the Old Blog Post. Remove the old message, consisting of any type of concrete footing. Utilize a pry bar or message puller for persistent articles.
Prepare the Opening. Clean and expand the opening as needed. For optimal assistance, the opening must be one-third the size of the article.
Install the New Article. Place the new message right into the hole. Use a level to ensure it's straight and temporarily brace it.
Fill Up and Secure. Include gravel for drain at the base, after that fill the hole with concrete or tightly loaded dirt. Permit the concrete to establish before affixing the fence panels.
Action 5: Prevent Future Issues.
To maintain your fencing and stay clear of comparable troubles:
Usage pressure-treated timber or metal blog posts for boosted resilience.
Make certain proper drainage around the base to stop water damage.
Conduct regular assessments to determine potential problems early.
Final Thought
Fixing a leaning or harmed fencing post doesn't need to be daunting. With the right devices, products, and strategy, you can restore your fencing to its complete functionality and appearance. Regular maintenance and proactive care will certainly help expand the life of your fence, guaranteeing it continues to be a dependable and attractive component of your home for several years to find.
Latest Posts
Uncover the Best Auto Repair Deals in Montclare, Chicago
Published May 27, 25
1 min read
How to Know When Your Car Needs Skilled Auto Repair at Montclare Auto Repair
Published May 27, 25
1 min read
The Benefits of Regular Car Maintenance at Montclare Auto Repair Reduces Costs
Published May 22, 25
1 min read
More
Latest Posts
Uncover the Best Auto Repair Deals in Montclare, Chicago
Published May 27, 25
1 min read
How to Know When Your Car Needs Skilled Auto Repair at Montclare Auto Repair
Published May 27, 25
1 min read
The Benefits of Regular Car Maintenance at Montclare Auto Repair Reduces Costs
Published May 22, 25
1 min read