All Categories
Featured
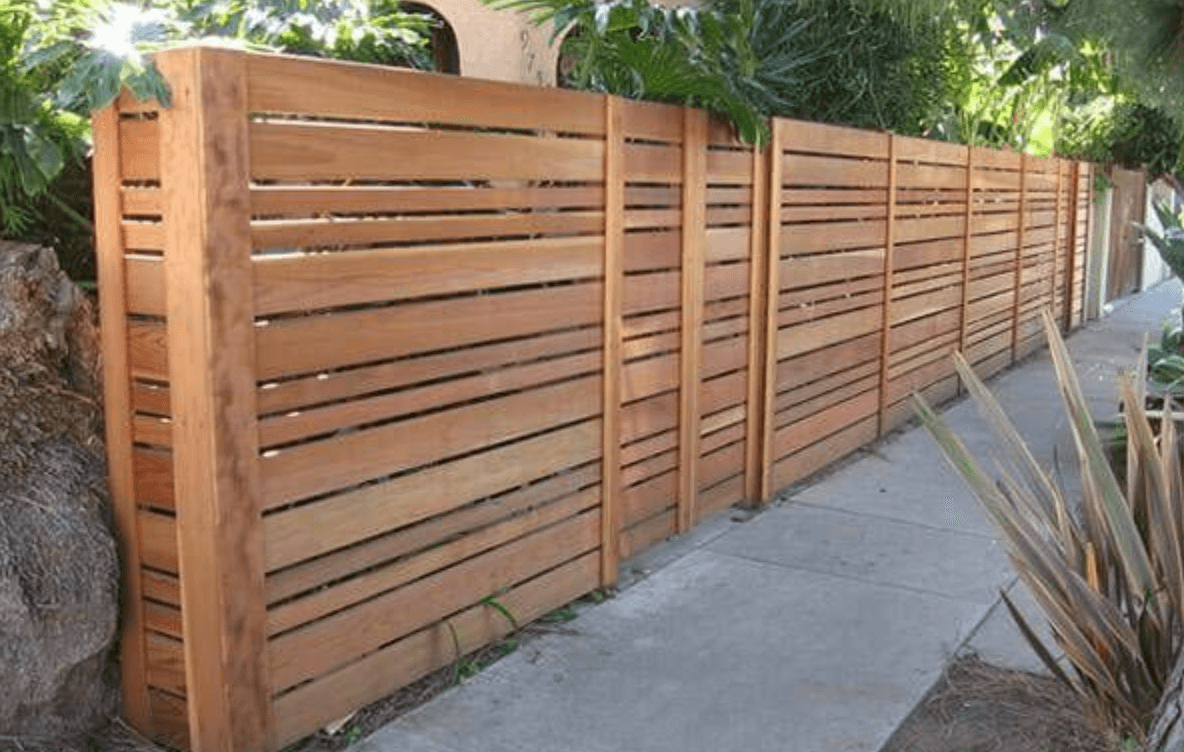
A leaning or harmed fence blog post can be both an eye sore and a safety issue. In time, climate condition, soil changes, or perhaps the all-natural aging of products can trigger a fencing blog post to lean or damage. Thankfully, dealing with a leaning or harmed fence post is a project that many homeowners can deal with on their own. Below's a detailed guide to help you restore your fence article to its original, strong placement.
![]()
Shovel. Message opening miner (optional for deeper holes) Degree. Concrete mix (quick-setting is excellent) Crushed rock (for drain, optional) Sledgehammer or blog post puller (for stubborn messages) If enhancing the article), a 2x4 support (. Safety safety glasses and gloves. Having all these products prepared will make the job simpler and quicker.
Concrete: One of one of the most reliable means to protect an article is by putting concrete around the base. Mix quick-setting concrete according to the instructions on the bag, after that put it around the blog post, ensuring the post continues to be straight and degree. You ought to load the opening with the concrete mixture, leaving concerning 2-3 inches of area on top for a final layer of dirt. Allow the concrete collection for at least 24-hour to make sure the blog post is sturdily repaired.
Gravel: If you choose a simpler, much more adaptable option, you can make use of crushed rock around the post for much better drain and support. Fill up the opening with gravel, making sure the post is straightened appropriately.
Action 1: Get rid of the old, broken post. If the message is set in concrete, utilize an article puller or sledgehammer to loosen up the concrete and remove the post. Action 2: Once the blog post is eliminated, dig a brand-new opening if required. The opening should have to do with 2-3 feet deep, depending upon the size of your new blog post and the kind of dirt you're working with. Action 3: Place the brand-new blog post into the hole, making certain that it is level and straightened with the remainder of the fence messages. Tip 4: Fill up the hole with concrete or crushed rock as explained previously, making certain that the new message is securely anchored. 7. Include Support Dental Braces (Optional) If you're concerned concerning the future stability of the article, you can add a brace to offer additional support. Affix a 2x4 or comparable piece of timber to the article at an angled angle, safeguarding the various other end to a neighboring fence article or the ground. This will stop any kind of future leaning and offer the article much more structural stability while the concrete cures or crushed rock clears up.
![]()
Verdict. Dealing with a leaning or harmed fence blog post does not have to be a challenging job. By adhering to these simple actions-- examining the damages, excavating around the article, and reinforcing it with concrete or gravel-- you can restore your fencing article to its upright setting.
- Analyze the Damages. If your fence article is leaning, it may just require to be realigned and reinforced. If the blog post is decomposed, fractured, or broken, it might need replacing.
- Collect Necessary Equipment and Products. To fix the post, you'll need a couple of standard tools and products:
Shovel. Message opening miner (optional for deeper holes) Degree. Concrete mix (quick-setting is excellent) Crushed rock (for drain, optional) Sledgehammer or blog post puller (for stubborn messages) If enhancing the article), a 2x4 support (. Safety safety glasses and gloves. Having all these products prepared will make the job simpler and quicker.
- Dig Around the Base of the Message. To take care of the leaning article, you'll need to reveal the base of the message. If the message is deeply ingrained in concrete, you might need to dig deeper or use a blog post puller to eliminate it.
- Align the Post. Once the base of the message is revealed, it's time to correct it. Make use of a level to ensure the post is upright, adjusting it as required.
- Reinforce the Article. As soon as the message is in the correct setting, you'll require to reinforce it to avoid it from leaning once again. You can do this in a number of ways:
Concrete: One of one of the most reliable means to protect an article is by putting concrete around the base. Mix quick-setting concrete according to the instructions on the bag, after that put it around the blog post, ensuring the post continues to be straight and degree. You ought to load the opening with the concrete mixture, leaving concerning 2-3 inches of area on top for a final layer of dirt. Allow the concrete collection for at least 24-hour to make sure the blog post is sturdily repaired.
Gravel: If you choose a simpler, much more adaptable option, you can make use of crushed rock around the post for much better drain and support. Fill up the opening with gravel, making sure the post is straightened appropriately.
- Replace a Damaged Blog Post (If Required) If the article is significantly deteriorated or broken, fixing it might not be possible. In this situation, replacing the message is your best option. Below's just how to change a damaged fence blog post:
Action 1: Get rid of the old, broken post. If the message is set in concrete, utilize an article puller or sledgehammer to loosen up the concrete and remove the post. Action 2: Once the blog post is eliminated, dig a brand-new opening if required. The opening should have to do with 2-3 feet deep, depending upon the size of your new blog post and the kind of dirt you're working with. Action 3: Place the brand-new blog post into the hole, making certain that it is level and straightened with the remainder of the fence messages. Tip 4: Fill up the hole with concrete or crushed rock as explained previously, making certain that the new message is securely anchored. 7. Include Support Dental Braces (Optional) If you're concerned concerning the future stability of the article, you can add a brace to offer additional support. Affix a 2x4 or comparable piece of timber to the article at an angled angle, safeguarding the various other end to a neighboring fence article or the ground. This will stop any kind of future leaning and offer the article much more structural stability while the concrete cures or crushed rock clears up.
- Examine for Future Security. Once the post is dealt with or changed, inspect it regularly to ensure that it stays secure and upright. Evaluate the bordering dirt for erosion or moving, and address any type of problems immediately to stop more damages.
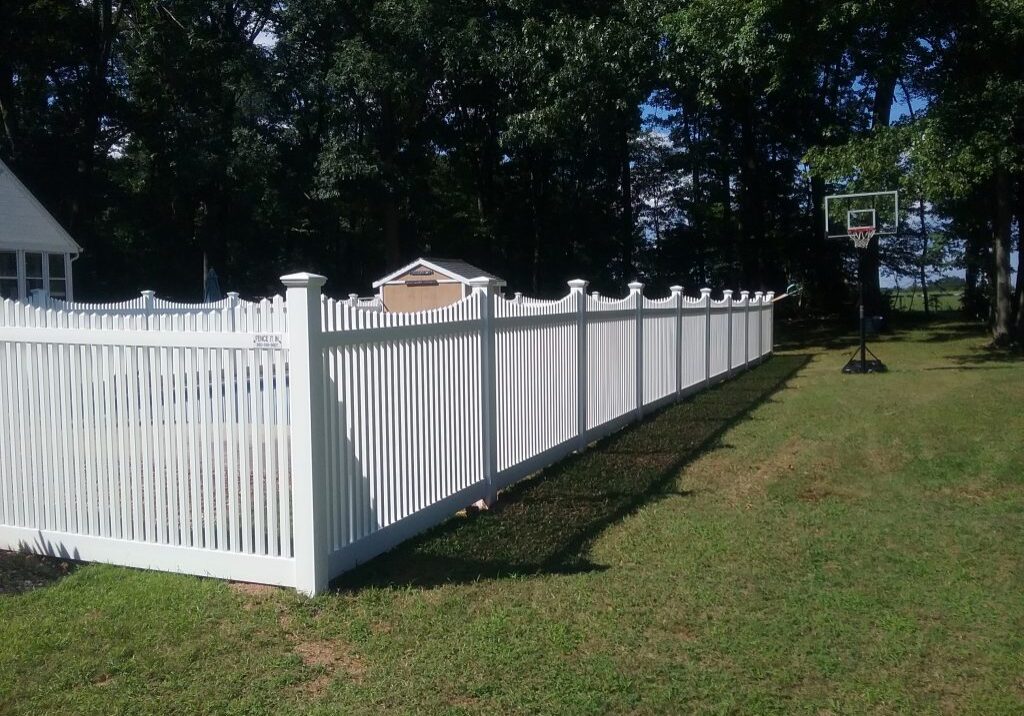
Verdict. Dealing with a leaning or harmed fence blog post does not have to be a challenging job. By adhering to these simple actions-- examining the damages, excavating around the article, and reinforcing it with concrete or gravel-- you can restore your fencing article to its upright setting.
Latest Posts
Uncover the Best Auto Repair Deals in Montclare, Chicago
Published en
1 min read
How to Know When Your Car Needs Skilled Auto Repair at Montclare Auto Repair
Published en
1 min read
The Benefits of Regular Car Maintenance at Montclare Auto Repair Reduces Costs
Published en
1 min read
More
Latest Posts
Uncover the Best Auto Repair Deals in Montclare, Chicago
Published May 27, 25
1 min read
How to Know When Your Car Needs Skilled Auto Repair at Montclare Auto Repair
Published May 27, 25
1 min read
The Benefits of Regular Car Maintenance at Montclare Auto Repair Reduces Costs
Published May 22, 25
1 min read